
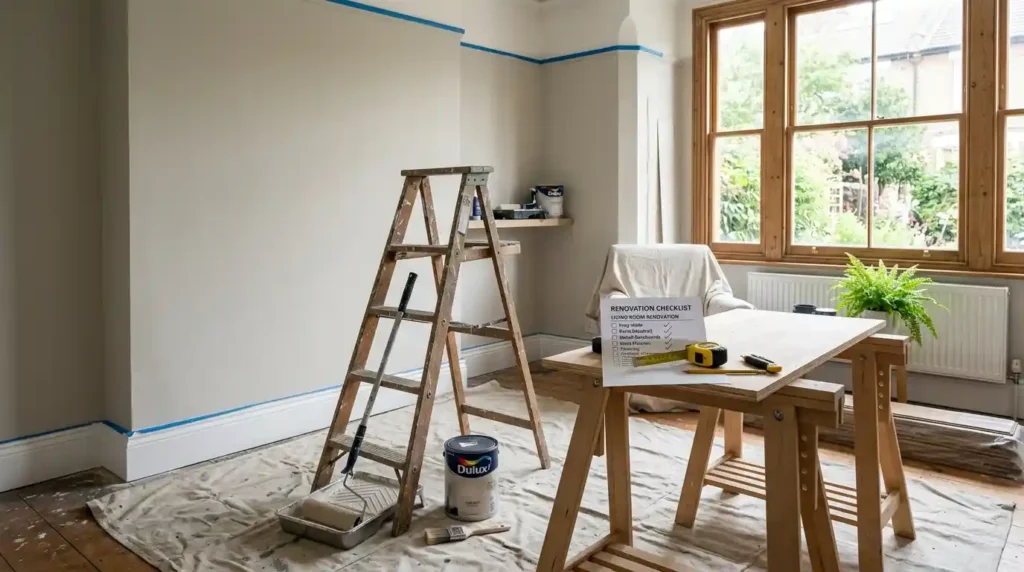
I started my first DIY home renovation with one paint sample and no plan. Three weeks in, I had a half-painted hallway. A torn-up bathroom. A credit card bill I kept avoiding. None of it was hard work. I just had no order. Planning matters more than skill, and I learned that the slow way. This guide is for beginners doing cosmetic and light repair work. No structural changes. Six rules below. What to fix first. How much to set aside for surprises. When a permit stops being optional. I made the mistakes so you can skip them.
Why Most DIY Home Renovation Projects Go Over Budget
Money leaks out in three places. Surprises behind walls. Materials bought before the plan existed. Work done in the wrong order. I hit all three. The bathroom in my first house had a slow leak behind the vanity. I found it after I’d retiled the floor. Ripped it all out again. That wasn’t a skill problem. I fixed the pretty stuff before I found the ugly stuff. Most overruns work that way. The fix is boring. Write down what needs doing. Put the essentials first. Price everything before you buy a single board.
How do I plan a renovation from scratch?
Write a scope of work that splits essential repairs from optional upgrades. Then price each item before you buy anything. I keep two lists. One for things that protect the house, like leaks and drafts. One for things that only change how it looks. First list goes first. My spreadsheet has one line per task and a column for what I actually paid. That column keeps me honest.
6 Planning Rules That Save Money
These six rules come straight from my own mistakes. None are clever. They put cheap decisions ahead of expensive ones, which is the opposite of what most of us do on day one. Before I buy any paint, I run the project past this list. If a job fails a rule, it drops down the queue. The list lives on a sticky note inside my garage cabinet door.
1. Find the water first
Water goes first. Always. I retiled that bathroom floor before I noticed the drip under the vanity. New tile, wet subfloor, do it all again. Check for failing caulk, running toilets, and drainage problems before any cosmetic work. Fresh finishes hide damage. They don’t stop it.
2. Knock out the under-$100 repairs
Small fixes come next. A toilet flapper. A tube of caulk. Weatherstripping on a drafty door. New cabinet pulls. Each one costs almost nothing. Together they change how the house feels. I swapped one flapper on a Sunday and the 2 a.m. hissing stopped. Cheap wins give you momentum. You need it for the boring middle of a project.
3. Finish one room before starting the next
My half-painted hallway taught me this. Every open project is a room you can’t use. Pick one room. Finish it. Then move on. You keep a livable house, and you find out your real pace before you plan the next room. A small room took me a few weekends. A kitchen took far longer. Be honest about which one you’re facing.
4. Plan the work to 80 percent of your budget
Set a firm total. Then plan the work to only 80 percent of it. The last 20 percent stays untouched until something goes wrong. Something always does. Most guides put the cushion between 10 and 20 percent. Go high on an older house. I log every purchase in a simple spreadsheet, planned cost next to actual cost.
5. Seal air leaks before you insulate or paint
Air sealing gets skipped because it isn’t pretty. It’s still one of the cheapest ways to cut heating and cooling bills. The U.S. Department of Energy says caulk works for small gaps under a quarter inch. Expanding foam handles gaps from a quarter inch up to about three inches. Seal first. Insulate second. Finish surfaces last. Keep foam and insulation away from flue pipes. I sealed my attic hatch and the outlets on one exterior wall in an afternoon. That room stopped feeling drafty.
6. Read your local permit rules before you demo
Do this before you swing a hammer. Paint, flooring, and cabinet swaps usually need no permit. Structural changes, new wiring, plumbing, and gas work usually do. Rules change by city, state, and country. So call your local building department. It takes a few minutes. If your US house predates 1978, test for lead paint before you sand anything.
Budgeting for a DIY Renovation Without the Surprises
Budgets break on what people forget to count. Materials get a line. Tools, delivery, dumpster fees, permits, and the second store trip for whatever you undercounted don’t. I forgot a dumpster once. Hauling construction waste in my own car ate two weekends. Build the budget from your scope of work, one task at a time. Price each task. Add tools you don’t own. Add permits and disposal. Put your cushion on top. Do the math on paper before you shop. Impulse buying in a big-box store is where most budgets quietly die.
How much contingency should a DIY renovation have?
Plan on 10 to 20 percent of the project total. Go toward 20 on an older house. Old houses hide more behind the drywall. Outdated wiring. Moisture damage. Odd framing. My 1950s house cost me more in surprises than my newer place ever did. If you never touch the cushion, good. You just funded the next room.
When to Do It Yourself and When to Call a Pro
DIY saves the most on labor-heavy, low-skill work. Painting. Caulking. Hardware swaps. Flooring in a simple room. It saves the least where a mistake is dangerous or costly to undo. I did my own painting and trim, then hired an electrician for a new circuit. No regrets on either call. My test is simple. If a mistake could flood, burn, or collapse something, I hire a licensed pro. Everything else, I learn and try, starting in the least visible spot in the house.
Which renovation jobs should never be DIY?
Load-bearing wall changes, gas lines, and electrical panel work. Hire licensed professionals for all three. A mistake there can hurt someone. Unpermitted work can also cause trouble with insurance claims and home sales later. Small swaps like a faucet or a light fixture are different. Plenty of homeowners handle those. Check your local rules first. When in doubt, pay a pro for an hour to review your plan.
Conclusion
A DIY home renovation goes right when the order goes right. Find the water first. Do the cheap repairs. Finish one room at a time. Plan to 80 percent of your budget and keep the rest as a cushion. Seal air leaks before you insulate. Check permit rules before you demolish anything. None of this needs special skill. It needs a written list and the discipline to follow it when a shiny project tempts you. Start with the smallest job on your list this weekend. Momentum does the rest.
FAQs
How much does a DIY renovation cost?
It depends on the scope, the region, and the age of the house. A cosmetic single-room refresh with paint, hardware, and lighting can often stay under $1,000. Flooring, plumbing, or electrical work across several rooms climbs fast. Add a 10 to 20 percent cushion on top of your total.
Which DIY renovation projects add the most value?
Paint, curb appeal work, refinishing hardwood floors, and air sealing tend to return the most for their cost. Remodeling magazine’s annual Cost vs. Value report is the best place to check what specific projects recoup in your region.
Do I need a permit for a DIY renovation?
Cosmetic work like painting and flooring usually doesn’t need one. Structural changes, new wiring, and plumbing or gas work usually do. Rules vary by location, so confirm with your local building department before you start. Unpermitted work can cause problems with insurance and resale.
How long does a DIY renovation take?
A small room can take a few weekends. A kitchen or whole-house project can run for months. Finishing one room before starting the next keeps the timeline realistic and the house livable.